
Borobudur Temple Photography Tips: Best Light, Angles, and Timing
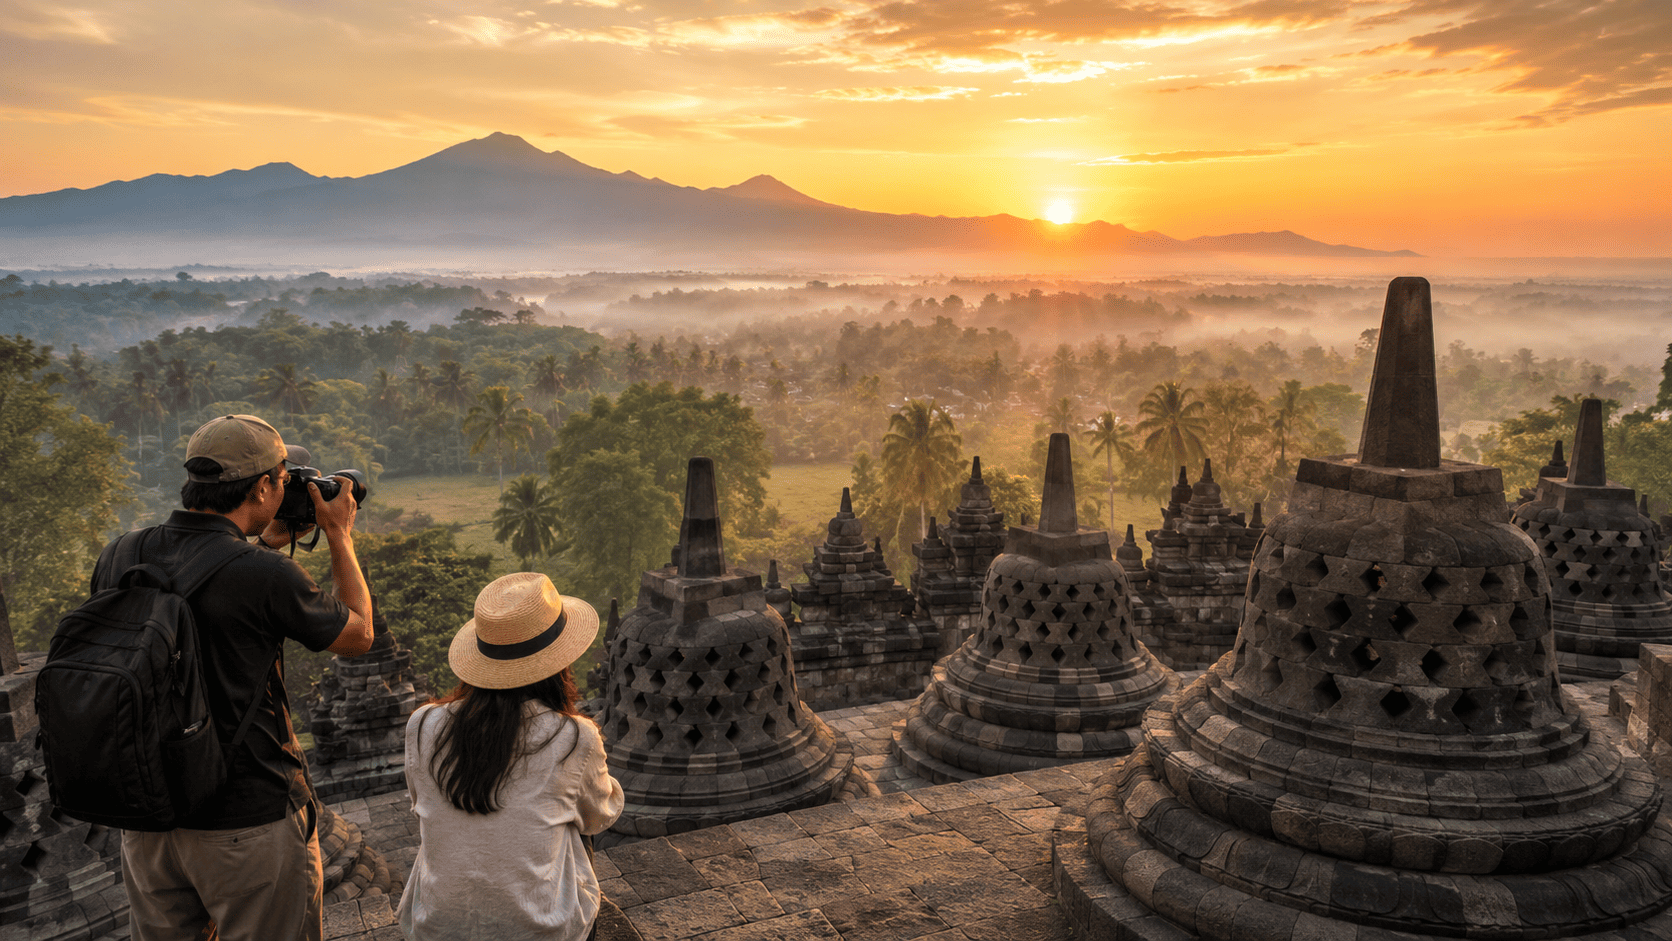
Borobudur offers countless photo opportunities, from carved reliefs to stupas and mountain views. These Borobudur Temple Photography Tips will help you choose better light, avoid busy moments, and plan your visit with photography in mind. You do not need professional gear to create strong images. Good timing and simple composition often matter more.
Choose the Right Time for Photos
Light changes quickly around Borobudur. Early morning usually gives softer tones and gentler shadows. Late afternoon can also create warm light across the stone surfaces.
Midday light feels stronger and can create harsh contrast. It also makes outdoor walking less comfortable. If photography matters to you, avoid making midday your only shooting period.
Sunrise offers another style. Early visits can provide changing sky colors, landscape views, and a quieter morning atmosphere. However, clouds and mist can affect visibility.
Before choosing your date, read our best time to visit Borobudur guide. It explains weather, crowds, sunrise options, and seasonal conditions.
Use the Temple’s Architecture
Borobudur has strong lines, repeating shapes, and detailed stonework. Use stairways, walls, and rows of stupas to guide the viewer through your frame.
Try both wide and close compositions. A wide shot can show the temple against the surrounding landscape. A closer frame can highlight relief panels, Buddha images, stone textures, or geometric patterns.
Look for symmetry when you photograph stairways or central architectural features. You can also use foreground elements to add depth. Move a few steps before taking the photo instead of relying on digital zoom.
Work Around the Crowds
Crowd levels can affect your composition. Weekdays often give you more flexibility than weekends or public holidays. Early sessions may also make it easier to photograph details with fewer people around.
Do not block stairs or narrow paths while composing a shot. Keep moving with the visitor flow and wait for short gaps when possible.
If the temple feels busy, focus on smaller details. Reliefs, textures, shadows, and individual stupas can still create strong images.
Keep Your Equipment Simple
A smartphone or compact camera can work very well at Borobudur. Bring enough battery power and storage before you leave your hotel.
A lightweight setup also makes walking easier. Visitors who climb the structure move through several levels, so heavy equipment can become tiring.
Check current site rules before bringing large photography equipment. Visitor policies can change, especially around controlled temple access.
Plan for Weather
Weather can completely change your photographs. Clear skies can reveal distant mountains, while mist can create a softer and more atmospheric scene.
During the rainy season, protect your camera or phone with a waterproof cover. During the dry season, watch for bright sunlight and strong shadows.
Cloudy conditions are not always bad. Soft light can reveal relief details without strong highlights.
Make the Trip Easier
Travelers who want more control over timing can book a private Borobudur tour. Private transport can help you match hotel pickup with your preferred temple session and photography plans.
You can also combine Borobudur with Punthuk Setumbu, Prambanan, or Mount Merapi. Each location offers a different visual style, so choose stops that match the images you want to create.
Conclusion
These Borobudur Temple Photography Tips focus on timing, light, composition, and simple preparation. Visit during softer light, use the temple’s natural lines, and work patiently around other visitors.
Do not chase only perfect weather. Mist, clouds, shadows, and changing light can create unique images. A flexible schedule will give you more chances to photograph Borobudur at its best.
